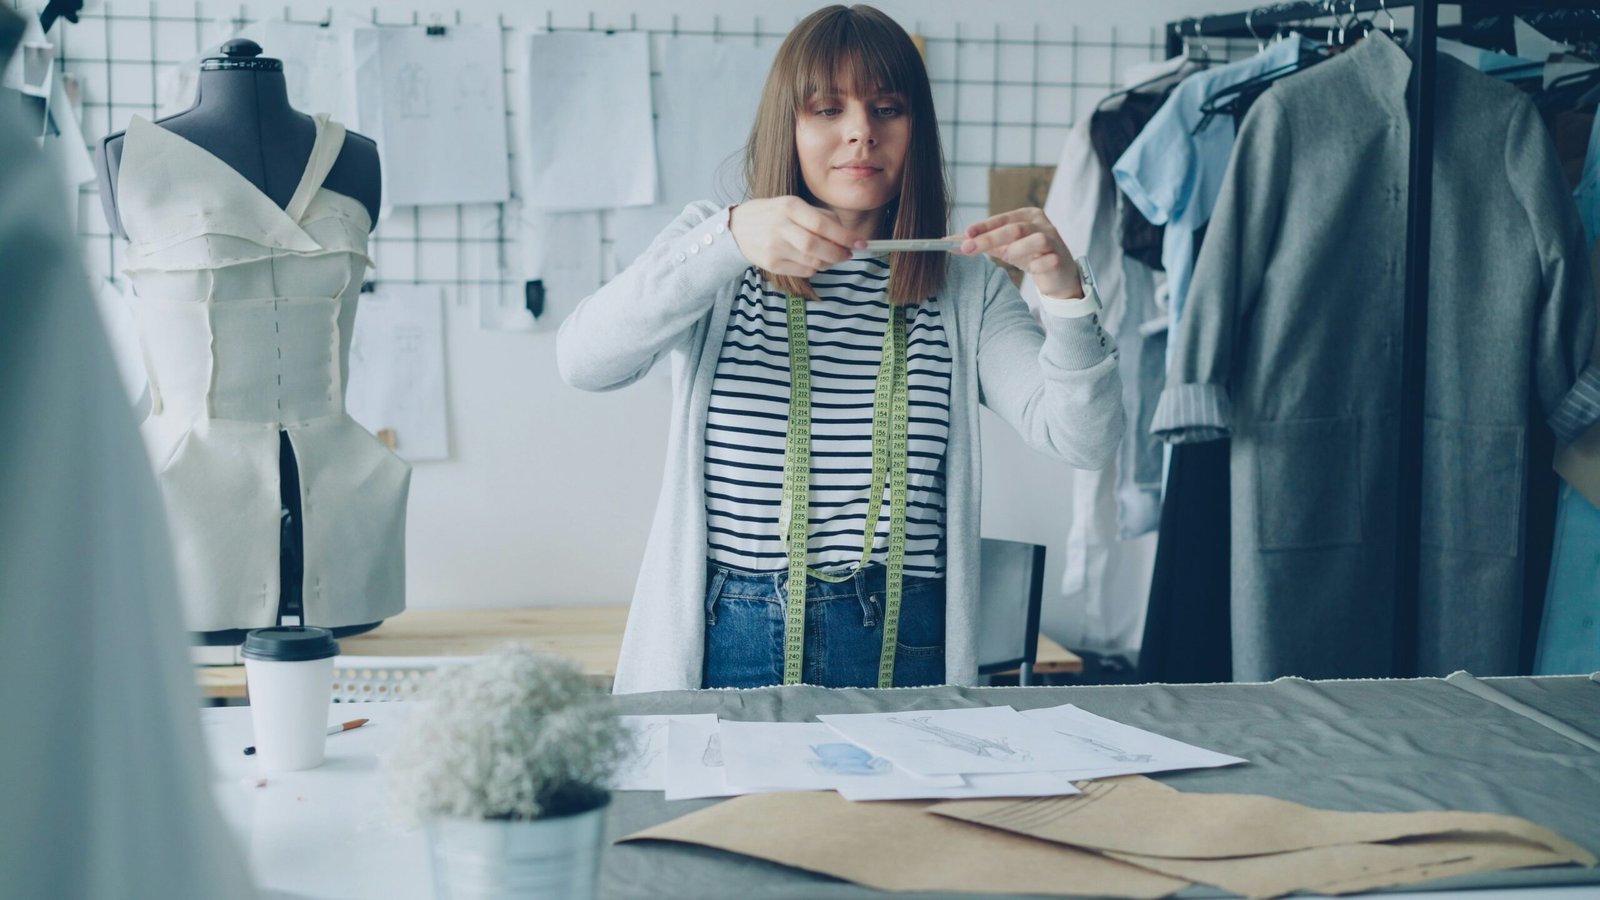

Off-the-rack sizing is built around an average that fits almost no one exactly. A few simple alterations — a hem taken up, a seam taken in, a sleeve shortened — can turn a garment that's merely okay into one that actually fits your body. Here's what you need, what to tackle yourself, and when to hand it to a professional.

You’ve had the experience: a top or dress looks right on the hanger, then goes wrong the moment you put it on. The shoulders sit too wide, the waist gapes, the hem lands at an odd spot on your leg. That’s not your body failing to match the clothes. It’s the clothes, mass-produced to a generic size chart, failing to match you.
Tailoring off-the-rack pieces isn’t about overhauling a garment. It’s about small, targeted adjustments — a seam taken in here, a hem raised there — that bring a piece in line with your actual measurements. The payoff is real: clothes that drape properly, move with you, and don’t pull or gap. You also end up wearing those pieces more, which means better value from what you already own.
Building a basic tailoring kit
You don’t need a professional setup to make most alterations. A few tools cover the majority of jobs:
- Sharp fabric shears, kept separate from any scissors used for paper
- A seam ripper, for undoing stitches cleanly
- Fine pins and a mix of hand-sewing needles
- Polyester thread in black, white, and a few neutrals
- A flexible tape measure
- Tailor’s chalk or a disappearing-ink pen for marking fabric
Before you cut anything, take accurate measurements — both of your body and of the garment. Measure yourself in close-fitting clothing, standing naturally, and take horizontal measurements at the fullest part of the bust, waist, and hips. Lay the garment flat on a clean surface to measure seams and hems, then compare the two sets of numbers to see exactly where the gap is. Keep in mind garments need a little ease for comfortable movement, so don’t measure for something skin-tight unless that’s the look you’re after.
It also helps to look at how the garment is already put together. Note how the hems are finished, how the seams are sewn, how a collar or cuff attaches. Matching your alteration to the original construction — topstitching where there’s topstitching, a blind hem where there’s a blind hem — is what makes the fix invisible.
The alterations most people need
Three adjustments solve the majority of fit problems, and all three are manageable with basic skills.
Hemming
Put the garment on with the shoes you’d actually wear it with, and mark the new length with pins while standing in front of a mirror. For pants, consider how much fabric you want creasing over the shoe. For skirts and dresses, length is mostly personal preference. Once marked, lay the piece flat, measure the new hemline evenly all the way around, and add a seam allowance before cutting. Fold, press, and stitch — using a double-fold hem, a blind hem, or topstitching, depending on what matches the original finish.
Taking in side seams
If a top, dress, or jacket is too wide through the body, pinch out the excess fabric at the side seams while wearing it, and mark the new line evenly on both sides, tapering smoothly rather than cutting a hard angle. Remove the original stitching with a seam ripper, press the seam flat, then sew along your new line. Trim the excess, finish the raw edge so it doesn’t fray, and press the seam the way the original garment was constructed.
Shortening sleeves
Shirt sleeves generally look best ending at or just above the wrist bone; jacket sleeves can run slightly longer. Mark the new length while wearing the garment. Simple, unlined sleeves can be treated like a hem — cut, fold, stitch. Sleeves with cuffs or linings are more involved, often requiring you to detach the cuff, shorten the sleeve, and reattach it to match the original finish.
When to go further — or stop and call a tailor
Some fit problems are a notch above a weekend project. Shoulder adjustments on a jacket, for instance, usually mean detaching the sleeve, removing fabric from the shoulder seam and armhole, and reattaching it — a job that changes the garment’s structure and is worth attempting only once you’ve got some basic alterations under your belt.
Waistlines present their own challenges. Taking one in on pants or a skirt often means opening the back seam of the waistband, adjusting the center back seam, and restitching. Letting a waistband out depends entirely on how much seam allowance is hiding inside the garment — sometimes there’s room, sometimes there isn’t. A dart added at the back of a skirt can pull in extra fabric at the waist without touching the side seams at all.
Lined garments need both layers adjusted — alter the outer fabric first, then bring the lining in to match, paying attention to how the lining seams were originally finished. Delicate fabrics like silk, chiffon, or lace call for finer needles, gentler handling, and sometimes hand-stitching instead of a machine. If you’re not confident, practice on a scrap of similar fabric before touching the real garment.
There’s no shame in handing a piece to a professional. Structured suit jackets, formal wear, and expensive or delicate fabrics are all cases where a mistake is costly and a tailor’s equipment and experience earn their price. A useful way to think about it: home alterations keep your everyday wardrobe fitting well; a professional tailor is for the pieces you can’t afford to get wrong.
The takeaway
Fit, not size, is what makes clothes look and feel right. Learning a handful of basic alterations — hemming, taking in a seam, shortening a sleeve — lets you adjust what you already own instead of chasing a perfect fit off the rack, which mostly doesn’t exist. Start with pieces you won’t mind practicing on, build up your skill gradually, and save the professional tailor for the garments where precision really matters.