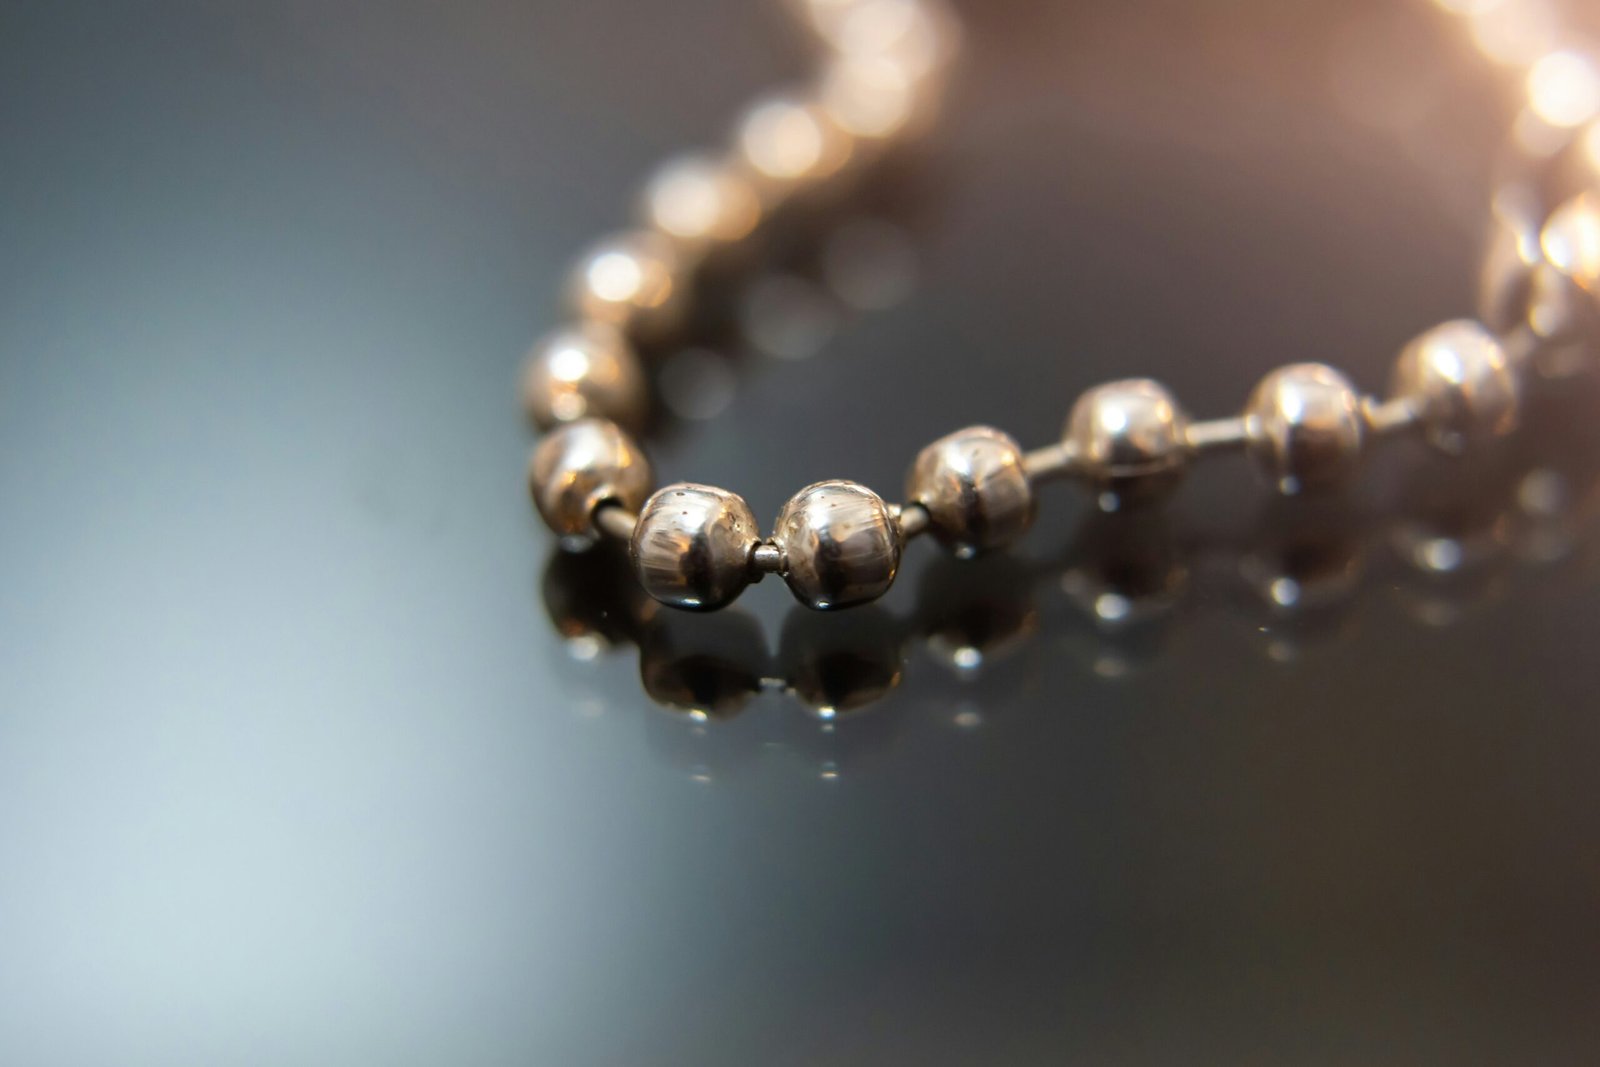

Alright, let’s talk about jewelry. Specifically, keeping your precious gold and silver pieces sparkling without a trip to the jeweler. The short answer? Yes, absolutely, it’s worth your time to learn a few simple, safe techniques. You can revive dull, tarnished pieces right at home, saving you money and ensuring your treasures always look their best.
Think about it: those beautiful gold and silver pieces, whether everyday favorites or special occasion dazzlers, gather grime. Skin oils, lotions, makeup, even household dust – it all dulls the shine. Regularly cleaning your jewelry isn’t just about aesthetics; it’s about preserving the integrity of the metal and any gemstones. Professional cleaning can be pricey, often ranging from $25 to $75 per item, depending on the complexity and type of stone. Doing it yourself means more sparkle, less spending.
Beyond the cost, home cleaning gives you control. You know exactly what’s being used on your cherished items, avoiding harsh chemicals that might be safe for a jeweler’s industrial-grade equipment but not for your delicate pieces or sensitive skin. It’s an empowering skill that extends the life and luster of your collection.
- Cost Savings: Avoid recurring professional cleaning fees.
- Convenience: Clean your pieces on your schedule, at your leisure.
- Gentle Care: Use methods you trust for delicate items.
- Longevity: Regular maintenance prevents stubborn buildup and potential damage.
- Personal Connection: Hands-on care fosters a deeper appreciation for your jewelry.
If you’re looking to maintain the beauty of your jewelry while ensuring it stays in top condition, you might also find it helpful to explore related topics such as health and wellness. For instance, understanding how to manage conditions like asthma can significantly improve your overall well-being, which in turn can enhance your enjoyment of your favorite accessories. To learn more about this, check out this informative article on asthma management: Ask an Expert: Questions and Answers About Uncontrolled Asthma.
What Materials Do You Need?
You’ll be surprised how little you need, and chances are, most items are already in your pantry or bathroom. Forget expensive, specialized cleaners for now; we’re focusing on safe, effective, and accessible household items. The key is gentle abrasion and effective oil and dirt removal.
For almost all gold and silver cleaning tasks, you’ll want soft cloths, mild soap, and specific, non-abrasive tools. Think cotton balls, microfiber cloths, and old toothbrushes (soft bristles, please!). Always have a designated “jewelry cleaning kit” so you’re not scrambling when a piece needs attention.
- Mild Dish Soap: Unscented, dye-free, like Dawn or Palmolive (a small squirt is plenty).
- Warm Water: Not hot, as extreme temperatures can affect some gemstones.
- Soft-Bristled Toothbrush: A dedicated, new brush or a very clean old one.
- Microfiber Cloths: For drying and polishing; avoids scratching.
- Cotton Swabs/Balls: For intricate areas.
- Small Bowl: For soaking.
- Baking Soda (for silver): A gentle abrasive and deodorizer.
- Aluminum Foil (for silver): Catalyzes the chemical reaction for tarnish removal.
How to Clean Gold Jewelry Safely?

Cleaning gold, whether it’s 10k, 14k, 18k, or 24k, is relatively straightforward because gold itself doesn’t tarnish like silver. The dullness you see is typically from accumulated oils and dirt. The primary goal is to gently lift and remove this grime without scratching the metal or dislodging any stones.
Always inspect your gold jewelry before cleaning. Check for loose prongs or settings. If you find any, it’s best to take the piece to a professional jeweler before attempting to clean it at home, as cleaning might exacerbate the issue and cause a stone to fall out. Even though gold is durable, it can be scratched, so always opt for the softest materials available.
Basic Gold Cleaning (No Gemstones)
For plain gold rings, chains, or bracelets, this method is your go-to. It’s quick, easy, and effective.
- Prep: Fill a small bowl with warm (not hot) water and add a few drops of mild dish soap.
- Soak: Submerge your gold jewelry in the solution for 15-20 minutes. This helps loosen dirt and oils.
- Scrub: Gently brush the jewelry with a soft-bristled toothbrush, paying attention to crevices and detailed areas.
- Rinse: Rinse thoroughly under cool, running water. Ensure all soap residue is gone.
- Dry & Polish: Pat dry with a soft, lint-free microfiber cloth. You can then gently buff it for extra shine.
Cleaning Gold with Gemstones
When gemstones are involved, you need to be more cautious. Different stones have different porosities and hardnesses, meaning some can withstand more than others. Diamonds are robust, but pearls, opals, and emeralds are much more delicate.
- General Rule: Avoid soaking porous stones (like pearls, opals, turquoise) for extended periods, as water can seep in and cause damage or discoloration. For these, a quick wipe is better.
- Diamond, Sapphire, Ruby: These hard stones can generally handle the basic dish soap and water soak. Just ensure the water isn’t too hot, as extreme temperature changes can cause thermal shock.
- Soak Time Adjustment: Reduce soaking time to 5-10 minutes for pieces with harder stones. For softer stones, a quick dip and immediate gentle brushing is safer.
- Drying: Ensure pieces with stones are thoroughly air-dried or gently patted dry, especially in settings where moisture might get trapped.
- Avoid Abrasives: Never use baking soda or harsh cleaners on gold, especially if it has a brushed or matte finish, as it can alter the texture.
- Check Settings: Always double-check stone settings before and after cleaning.
- Separate Cleaning: If you have multiple gold pieces, clean them one by one to avoid scratching.
- No Ultrasonics (unless professional): Home ultrasonic cleaners can sometimes dislodge stones or damage delicate filigree, especially on antique pieces.
How to Clean Silver Jewelry Without Damage?

Silver’s biggest enemy is tarnish – that black or brownish discoloration that forms on its surface. This is a natural chemical reaction when silver comes into contact with sulfur-containing compounds in the air (like hydrogen sulfide) and moisture. Cleaning silver effectively means removing this tarnish without excessively abrading the metal.
Unlike gold, soap and water alone often won’t remove heavy tarnish from silver. You need methods that specifically target the silver sulfide responsible for the blackening. There are two primary safe and effective home methods: the baking soda paste and the aluminum foil/baking soda bath.
Baking Soda Paste Method (Light to Moderate Tarnish)
This method uses baking soda’s gentle abrasive quality to polish away tarnish. It’s best for pieces with light to moderate tarnish or intricate details where a dip might not reach.
- Prep: Create a thick paste by mixing about 3 parts baking soda with 1 part warm water in a small bowl. The consistency should be like toothpaste.
- Apply: Using a soft cloth or cotton swab, apply the paste to the tarnished silver.
- Gently Rub: With gentle, circular motions, rub the paste onto the silver. You’ll see the tarnish begin to lift and transfer onto your cloth. For intricate areas, use a soft-bristled toothbrush.
- Rinse Thoroughly: Rinse the silver under cool, running water. Ensure all paste is removed from crevices.
- Dry & Polish: Dry immediately with a soft, lint-free microfiber cloth. Buff gently for a brilliant shine.
Aluminum Foil & Baking Soda Bath (Heavy Tarnish)
This method is fantastic for heavily tarnished silver and is a non-abrasive approach. It works via an electrochemical reaction where the aluminum “attracts” the sulfur ions from the silver, effectively transferring the tarnish to the foil.
- Line Bowl: Line a non-metallic bowl (glass or ceramic) with aluminum foil, shiny side up.
- Add Ingredients: Place your silver jewelry on top of the foil, ensuring each piece touches the foil. Sprinkle 1-2 tablespoons of baking soda over the jewelry.
- Pour Water: Carefully pour hot (not boiling) water over the jewelry until it’s fully submerged. You should see a fizzing reaction, and potentially, the tarnish appearing on the foil.
- Soak: Let it soak for 5-15 minutes, depending on the level of tarnish. For very heavy tarnish, you might need to repeat the process.
- Remove & Rinse: Carefully remove the jewelry (it might be hot) and rinse thoroughly under cool, running water.
- Dry & Polish: Dry immediately with a soft, lint-free microfiber cloth.
Cleaning Silver with Gemstones
Similar to gold, great care must be taken with silver jewelry that contains gemstones. The aluminum foil method is generally safer for many stones than abrasive pastes, but some stones still require specific precautions.
- Porous Stones (Pearls, Opals, Turquoise, Lapis Lazuli): Avoid the aluminum foil and baking soda bath entirely. The hot water and chemical reaction can damage these delicate gems. Instead, use a very quick, gentle swipe with a silver polishing cloth or a cotton swab barely dampened with the baking soda paste, followed by an immediate wipe with a clean, damp cloth and thorough drying.
- Harder Stones (Diamonds, Sapphires, Rubies, Cubic Zirconia): These can generally handle the aluminum foil bath or a gentle baking soda paste. However, always rinse and dry immediately.
- Oxidized Silver: If your silver has an intentional “oxidized” (darkened) finish in crevices, avoid aggressive cleaning methods like pastes or dips, as they can remove this desired patina. A quick, gentle wipe with a damp cloth is usually sufficient.
- Never Use Toothpaste: While baking soda is an ingredient, commercial toothpaste often contains harsh abrasives that can permanently scratch silver.
- Avoid Rubber Gloves: Sulfur in rubber can cause silver to tarnish faster.
- Storage Matters: Properly store silver to prevent tarnish (more on this later).
- Silver Polishing Cloths: For quick touch-ups or very light tarnish, a specially treated silver polishing cloth is an excellent, non-abrasive option.
If you’re looking to enhance your beauty routine while ensuring your jewelry remains sparkling clean, you might find it helpful to read about skin preparation for makeup. This article offers insights into achieving a smoother and healthier glow, which can complement your freshly cleaned gold and silver pieces beautifully. For more information, check out the article on skin prep for makeup.
Gold vs. Silver Cleaning: A Quick Comparison
| Method | Materials | Instructions |
|---|---|---|
| Soap and Water | Mild soap, warm water, soft brush | Gently scrub the jewelry with the soapy water using a soft brush, rinse with warm water, and pat dry with a soft cloth. |
| Baking Soda and Water | Baking soda, water, soft cloth | Mix baking soda and water into a paste, apply to the jewelry, gently scrub, rinse with water, and dry with a soft cloth. |
| Vinegar and Baking Soda | Vinegar, baking soda, water, soft cloth | Soak the jewelry in a mixture of vinegar and water, sprinkle baking soda, gently scrub, rinse with water, and dry with a soft cloth. |
| Lemon Juice | Lemon juice, water, soft cloth | Mix lemon juice and water, soak the jewelry, gently scrub, rinse with water, and dry with a soft cloth. |
| Feature/Method | Gold Jewelry (Plain) | Silver Jewelry (Tarnished) |
| :– | :- | : |
| Primary Issue | Dirt, oils, lotions, general grime (doesn’t tarnish) | Tarnish (sulfur reaction), dirt, oils |
| Basic Soak | Mild dish soap + warm water | Hot water + baking soda + aluminum foil (for tarnish) |
| Abrasives | AVOID entirely (can scratch) | Baking soda paste (gentle, for tarnish) |
| Soaking Time | 15-20 minutes (longer for heavy grime) | 5-15 minutes (for tarnish removal) |
| Gemstone Caution | Porous stones: minimal water contact. Hard stones: safe | Porous stones: AVOID baths/pastes. Hard stones: cautious use. |
| Post-Clean Polish | Microfiber cloth for shine | Microfiber cloth for shine, tarnish removal from foil |
How to Maintain Your Jewelry’s Sparkle?
Cleaning is only half the battle; proper maintenance and storage are crucial to minimizing the need for frequent deep cleaning and extending the life of your jewelry. A little proactive care goes a long way in keeping your pieces looking new.
Think of your jewelry as an extension of your skin – it needs protection from harsh environments and chemicals. By adopting a few simple habits, you can significantly reduce the rate at which your gold and silver pieces dull or tarnish. This saves you time and effort in the long run.
Everyday Habits to Protect Your Jewelry
- Last On, First Off: Put your jewelry on after you’ve applied makeup, hairspray, perfume, and lotion. Take it off before showering, swimming, or doing any household chores. Chemicals in these products can dull metals and damage gemstones.
- Sweat is an Enemy: Remove jewelry before exercising. Sweat can accelerate tarnishing on silver and leave a film on gold.
- Avoid Harsh Chemicals: Keep your jewelry away from bleach, ammonia, and other strong cleaning agents. Even hand sanitizer, with its high alcohol content, can be detrimental over time.
Smart Storage Solutions
- Individual Pouches: Store each piece of jewelry, especially silver, in its own soft cloth pouch or a separate compartment in a jewelry box. This prevents scratching and minimizes air exposure.
- Anti-Tarnish Strips: For silver, place anti-tarnish strips (available online or at jewelry stores) in your storage boxes or pouches. These absorb airborne sulfur compounds, significantly slowing down tarnishing. Replace them every 6-12 months.
- Cool, Dry Place: Store jewelry in a cool, dry environment, away from direct sunlight and humidity. Bathrooms, while convenient, are often too humid for proper jewelry storage.
- Avoid Entanglement: Chains are notorious for tangling. Fasten necklaces and bracelets before storing them, or hang them individually to prevent knots and potential damage.
- Regular Wiping: Give your frequently worn pieces a quick wipe with a clean, soft cloth after each wear to remove oils and dirt.
- Professional Check-ups: Even with diligent home care, it’s wise to have your fine jewelry professionally inspected by a jeweler once every 1-2 years. They can check settings, clasps, and provide a deep clean.
- Know Your Materials: Understand the specific care needs of each metal and gemstone in your collection.
- Travel Smart: Use a travel jewelry case with dedicated compartments to protect your pieces from scratches and tangles while on the go.
The Femzen Verdict:
Yes, learning to clean your gold and silver jewelry at home is absolutely worth your time and effort. It’s a smart, money-saving skill that empowers you to keep your cherished pieces sparkling. Invest in a few basic supplies – mild dish soap, baking soda, aluminum foil, and microfiber cloths – and dedicate 15-30 minutes every few months.
This approach is perfect for the woman who appreciates her possessions, values practicality, and wants to maintain her style without constant trips to the jeweler. It suits anyone with a collection of gold and silver pieces, from everyday staples to heirloom treasures, who wants them to look their best, always.